_edited.jpg)
Cupcake Charms: Crafting Your Own St. Patrick's Day Top Hat Toppers
- Dulce Deco
- Feb 26, 2024
- 4 min read
Introducing cupcake St. Patrick's Day Top Hat decoration toppers – the perfect blend of whimsy and Irish charm for your festive baking endeavours. As St. Patrick's Day approaches, these delightful toppers offer a fun and stylish way to adorn your cupcakes, adding a touch of luck and flair to your celebrations.
Here is what you will need to get started...
Supplies
Fondant (white)
Food Colouring (green, yellow, brown, black)
Toothpicks
Gloves
Round Cookie Cutters
Wax Paper
Fondant Roller
Prepare Your Workspace
Ensure your work surface is clean and dry
Dust your surface lightly with cornstarch or powdered sugar to prevent the fondant from sticking
Colour Your Fondant
 |  |  |
Fondant can be bought in the colour you need (green, yellow, white and white) but on the off chance your local supply store's inventory only carries white fondant, you can colour it at home by doing the following.
Cut out the amount of fondant you need to colour.
Select the food colouring colour you want.
Spread your fondant out to create a small pocket in the center.
Add 1-2 drops of food colouring.
Slowly fold the fondant edges inward to seal the food colouring inside. Next, knead and stretch the fondant until the colour has been evenly combined.
Continue this process until your desired colour has been achieved.
Repeat this process for each colour you need to make.
Remember to wear food-safe gloves if you're handling darker colours to prevent staining your hands.
Prepare Fondant for Shaping
Roll out your fondant to an even thickness, about 1/8 to 1/4 inch thick, using a rolling pin. Make sure it's large enough to cut out your desired shapes.
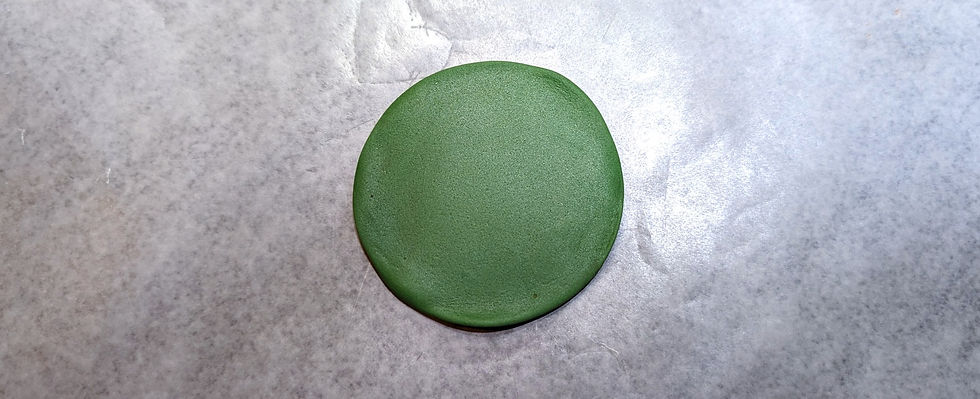
Using a fondant knife or toothpick, trace the shape of a tophat.
Pro Tip: To help you get the perfect tophat shape, have a photo reference and trace the tophat outline onto a wax sheet of paper. Using scissors, cut out the traced outline and place it onto your rolled fondant to trace and cut out a clean shape.

I chose to free-hand my cutout so results may vary for each of you. With your base now ready it's time to add some dimension and for that, you will need two shades of green. A dark green to represent the shadows and a lighter green to represent the light.
Using your base for reference, trace half the shape of the top hat where your shadow (dark green) will be. Make sure the fondant layer is nice and thin, cut out the shadow shape and while your fondant is still soft and a little sticky, place it onto your top hat base gently smoothing it into position.
Repeating the same steps with your lighter green, trace up to 1/4 of the top hat where your light source (light green) is going to be hitting your top hat shape.
Note: For a more precise fit you can use the pro tip mentioned above for each shape you make for this topper.
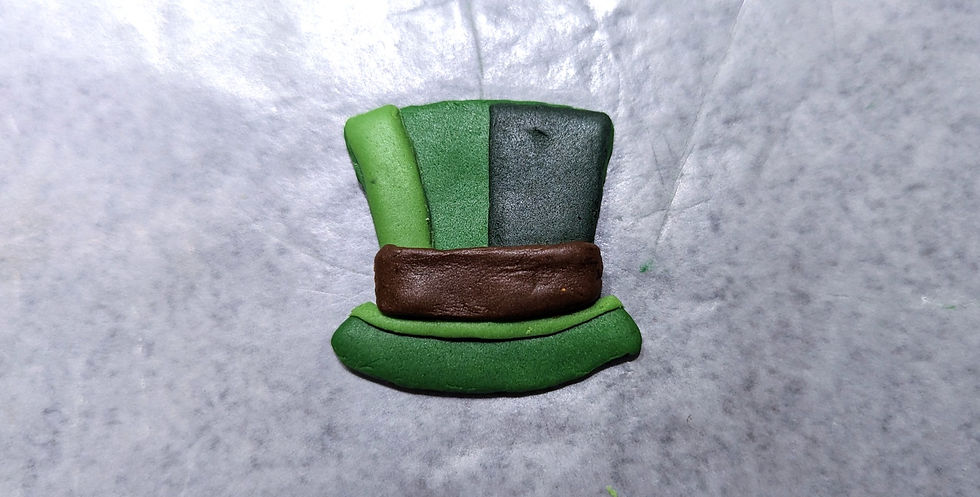
Smooth out the layers to maintain an even surface for your next fondant layer to sit on - the trim.
Using a brown fondant (store-bought or made using white fondant and brown food colouring), roll out a small rectangular piece shading it into a band that runs from end-to-end of your tophat shape just above the brim.
Pro Tip: Here you can add an extra layer of oomph to your topper by adding a texture to your tophat trim. Stripes, dots, swirls you name it!
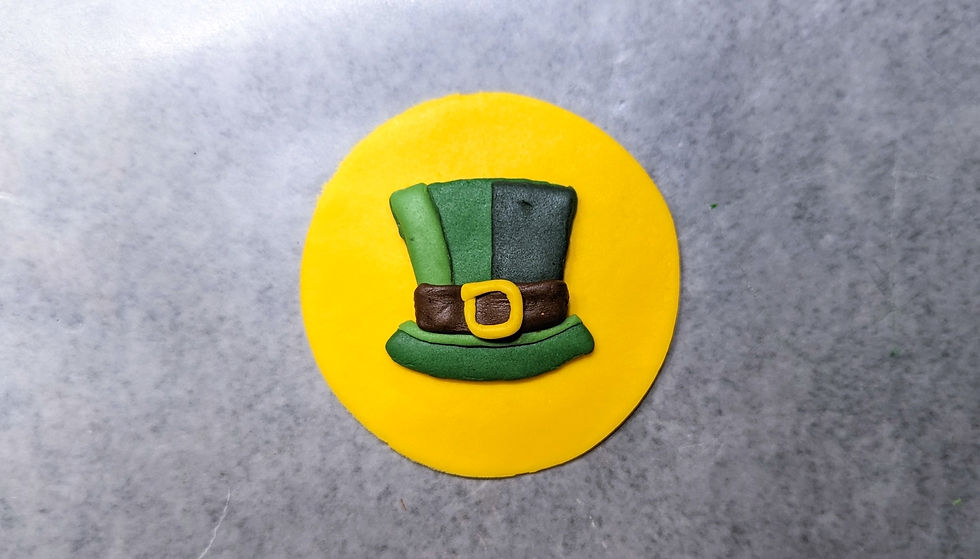
The last piece for your topper to be complete is a buckle. Roll out a small piece of fondant into a cylinder shape. Gently pull it off the board and shape the fondant into a square shape above the center of the tophat trim.
The create a gold buckle to adorn your beautiful top hat design there are a few different methods that can be used to reach that effect. You can use white fondant and gold shimmering powder, dusting it on with a thin paintbrush. A gold food-grade paint, staining the buckle shape. Or if you do not have a gold colour available you can simply use yellow food colouring to mimic a gold buckle instead.
Et Voila! Your top hat design is complete. You can either leave your top hat as is and leave it to the side to dry or, you can place it on a coloured backdrop by rolling out a piece of fondant in a contrasting colour to your top hat. Using a round cookie cutter, cut out your backdrop, and place your top hat design in the center. Lightly pat your top hat in place.
With your finished piece(s), place them on a wax baking sheet and leave them to dry for about 24 hrs. Letting them dry on a wax baking sheet will help you peel them off without breaking if the bottom gets stuck.
Attach your Toppers
The buttercream will act like the glue for your toppers to sit on, make sure your buttercream or icing is not too runny. Add a layer of your buttercream or icing onto your cupcake and place your dryed topper flat on top of your cupcake. Don't press don't hard.
With their iconic symbol of luck and whimsical design, St. Patrick's Day Top Hat decoration toppers are sure to bring smiles to faces and elevate the festive atmosphere. So, embrace the spirit of St. Patrick's Day and top off your cupcakes with these adorable decorations to make your celebrations truly memorable.
We Want to Hear from You!
If you liked this article and want to see more posts like this leave us a comment and let us know what you want to learn more of! If you really liked this article, spread the word and share with your family and friends, we'd love to hear from them too!
If you want to stay up to date on the latest posts, sales, and more join the Dulce Deco community.
Commenti